
NGINX (Engine X) is a web server, Its getting popular very fast due to its fast speed. NGINX is also used as reverse proxy server. To use php script with nginx it required to install php-fpm.
This article will help you To setup web hosting environment using Nginx, MySQL, PHP (LEMP) Stack with PHP-FPM on CentOS and RHEL 6 Server
Step 1: Install Required RPM Repositories
Fristly you would required to install EPEL and Remi repositories on your system. Use following commands to install repositories.
# rpm -Uvh http://rpms.famillecollet.com/enterprise/remi-release-6.rpm
# rpm -Uvh http://download.fedoraproject.org/pub/epel/6/i386/epel-release-6-8.noarch.rpm
If you are using another system version/architecture, kindly refere below article
Yum Repositories for CentOS, RHEL Systems
Step 2: Install NGINX using Yum
Now we are installing nginx using yum command line utility. Follow given commands to install nginx and start nginx server.
To Install Nginx
# yum install nginx
To Start Nginx
# /etc/init.d/nginx start
Step 3: Install MySQL and Configure
Install MySQL server using following command.
# yum install mysql mysql-server
Start and configure mysql first time.
# /etc/init.d/mysqld start
# /usr/bin/mysql_secure_installation
Setup the mysql root password and follow the remaining instruction’s. For other steps it good to say Yes for all.
Step 4: Install PHP and PHP-FPM
php-fpm is available under remi repository. Use following command to install it.
# yum --enablerepo=remi install php php-fpm php-mysql php-cli
Step 5: Configure NGINX and Default Virtual Host
Edit nginx configuration file and update worker processes to 4.
# vim  /etc/nginx/nginx.conf
worker_processes  4;
Now configure the default virtual host in nginx virtual host file.
vi /etc/nginx/conf.d/default.conf
Configuration file should have settings like below. Update server_name and root path settings as per your requirements.
#
# The default virtual server
#
server {
    listen       80;
    server_name  nginx.tecadmin.net;

    location / {
        root   /var/www/nginx.tecadmin.net;
        index index.php  index.html index.htm;
    }

    error_page  404              /404.html;
    location = /404.html {
        root   /usr/share/nginx/html;
    }

    error_page   500 502 503 504  /50x.html;
    location = /50x.html {
        root   /usr/share/nginx/html;
    }

    # pass the PHP scripts to FastCGI server listening on 127.0.0.1:9000
    #
    location ~ .php {
        root           /var/www/nginx.tecadmin.net;
        fastcgi_pass   127.0.0.1:9000;
        fastcgi_index  index.php;
        fastcgi_param  SCRIPT_FILENAME   $document_root$fastcgi_script_name;
        include        fastcgi_params;
    }
}
Step 6: Configure PHP-FPM
Edit php-fpm configuration file and update user and group settings as below
# vim /etc/php-fpm.d/www.conf
Replace the values of user and group with nginx like below
; Unix user/group of processes
; Note: The user is mandatory. If the group is not set, the default user's group
;       will be used.
; RPM: apache Choosed to be able to access some dir as httpd
user = nginx
; RPM: Keep a group allowed to write in log dir.
group = nginx
Step 7: Restart Services
Restart following services and configure the to auto start on system boot.
# /etc/init.d/nginx restart
# /etc/init.d/php-fpm restart
# /etc/init.d/mysqld restart
# chkconfig nginx on
# chkconfig mysqld on
# chkconfig php-fpm on
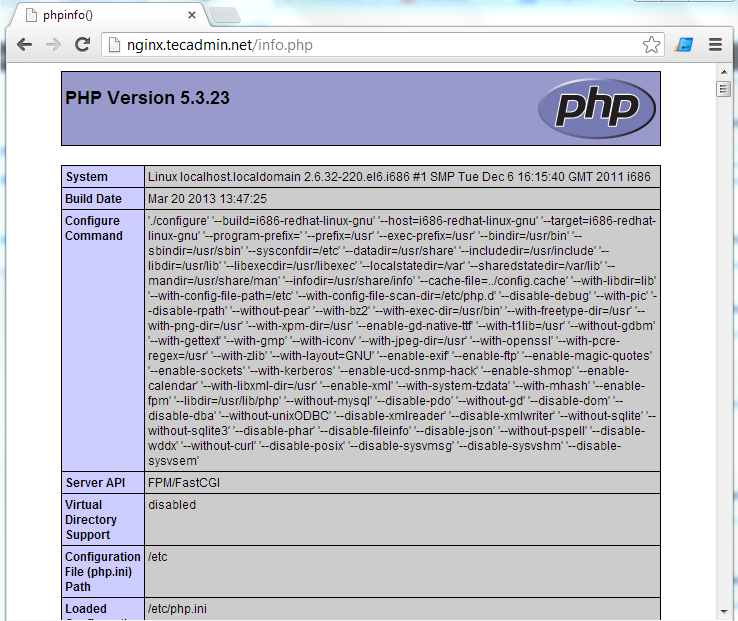
Step 8: Test Your Setup
All the configuration has been completed. Now access your virtual host in browser. For this article I have create a phpinfo file in document root to insure php is working.
1 Comment
nice article!